Our final project consisted of up cycling a material that would have been thrown away. The only requirement is that you need to use at least three machines in the IDEA lab. I wanted to create something that I would genuinely enjoy making but was still practical and had an everyday use.
The people around me were coming up with unique ideas that I personally felt were slightly odd and wouldn't fit in with the rest of the house. I wanted to make something that looked professional and useful. I started to think about the objects in my house that I use every day, things that I could possibly overlook. I was mulling over it in my head when i realized I could create coasters. All I needed was to use three machines in the lab to receive full credit.
After thinking it over, I figured I would make the coasters out of wood, discarded acrylic, and discarded cardboard for the holder.
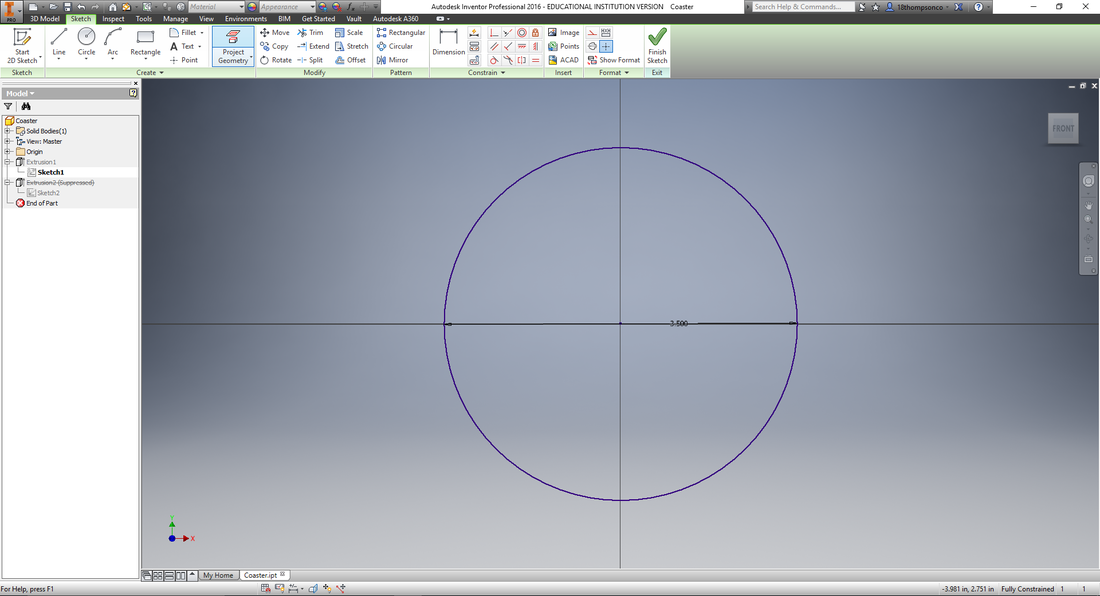
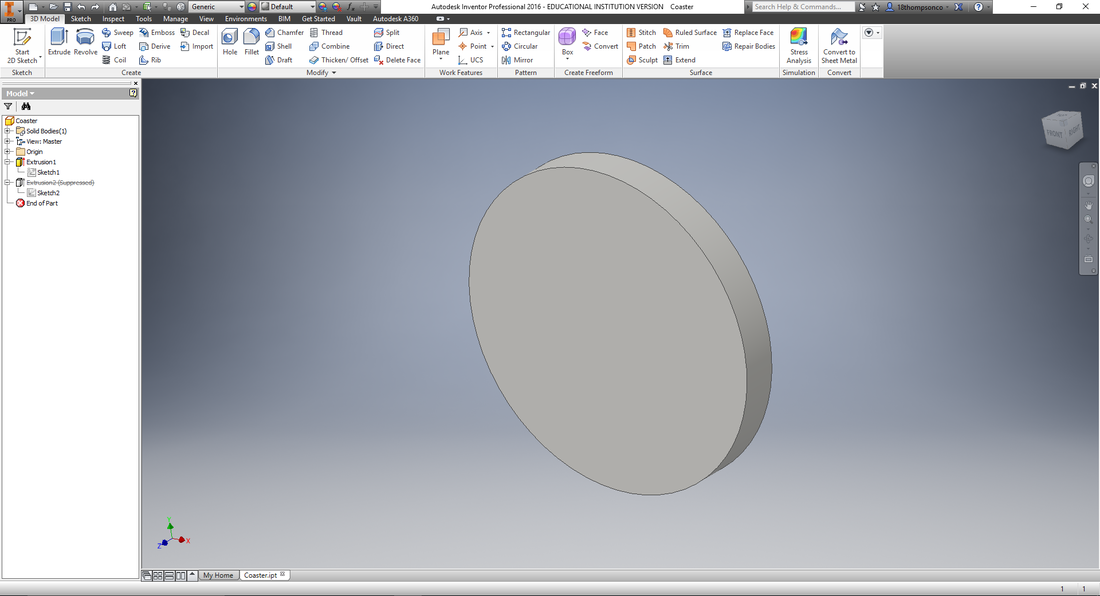
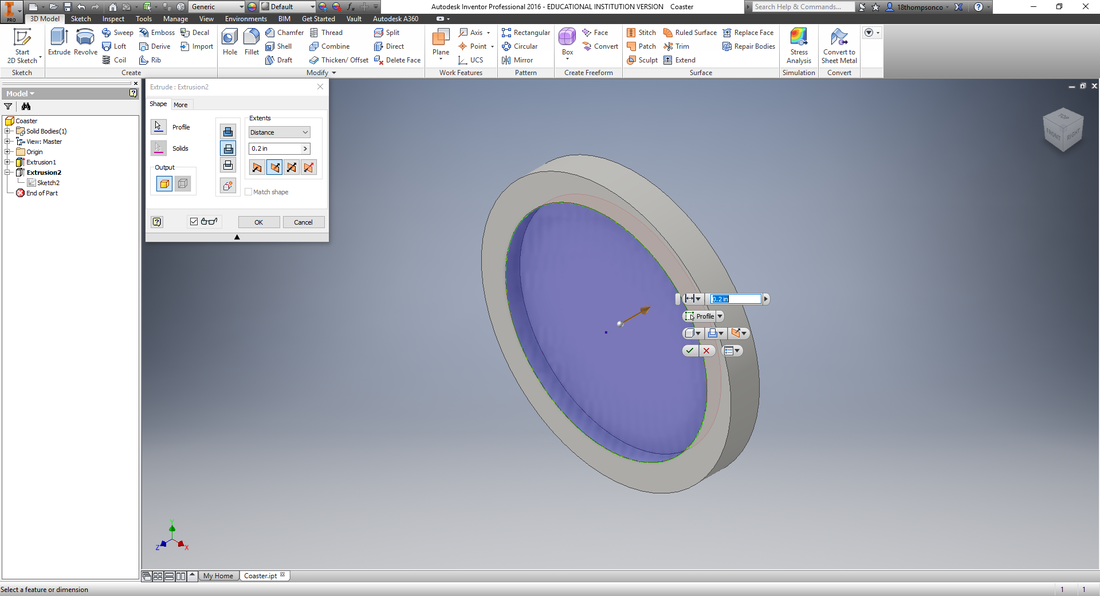
The first step was to figure out a shape for my coaster. I figured that if I made a socket in a round coaster, I could fit acrylic into the socket of the wood. I looked up the average size of a coaster and one company said that their base coaster was 3.5 inches in diameter, so I went with that. Once I extruded the simple circle to the desired width, I extruded into the coaster the same depth as the acrylic that was available
The people around me were coming up with unique ideas that I personally felt were slightly odd and wouldn't fit in with the rest of the house. I wanted to make something that looked professional and useful. I started to think about the objects in my house that I use every day, things that I could possibly overlook. I was mulling over it in my head when i realized I could create coasters. All I needed was to use three machines in the lab to receive full credit.
After thinking it over, I figured I would make the coasters out of wood, discarded acrylic, and discarded cardboard for the holder.
The first step was to figure out a shape for my coaster. I figured that if I made a socket in a round coaster, I could fit acrylic into the socket of the wood. I looked up the average size of a coaster and one company said that their base coaster was 3.5 inches in diameter, so I went with that. Once I extruded the simple circle to the desired width, I extruded into the coaster the same depth as the acrylic that was available
|
|
|
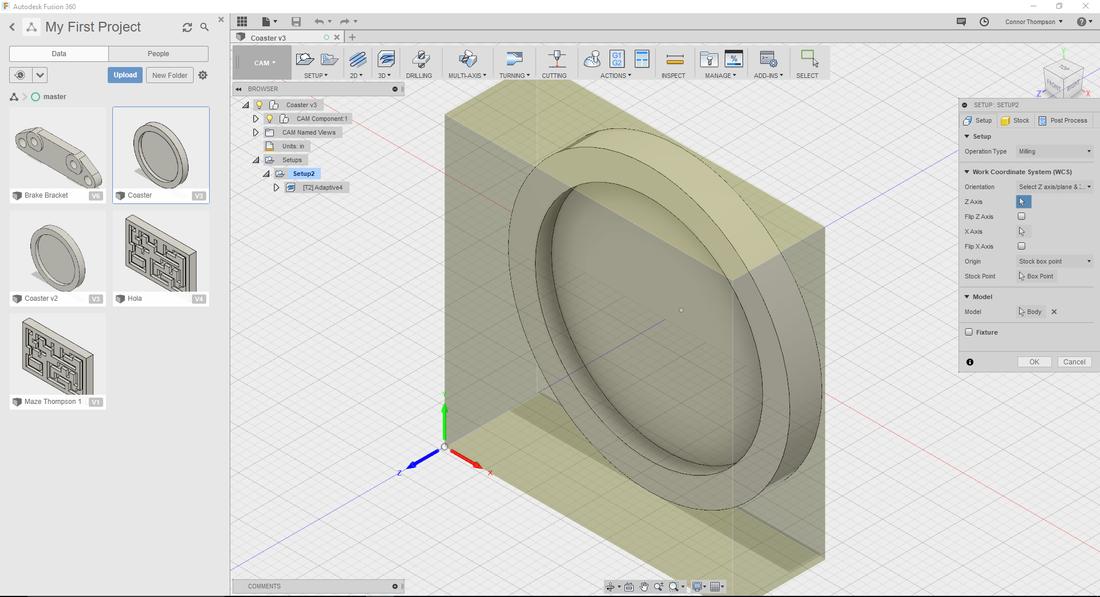
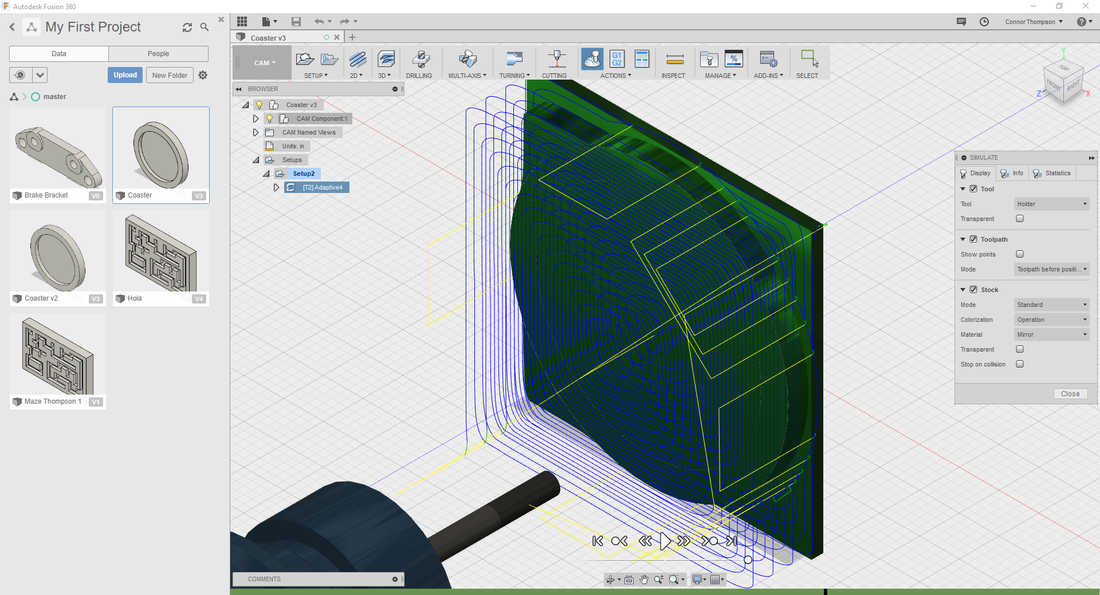
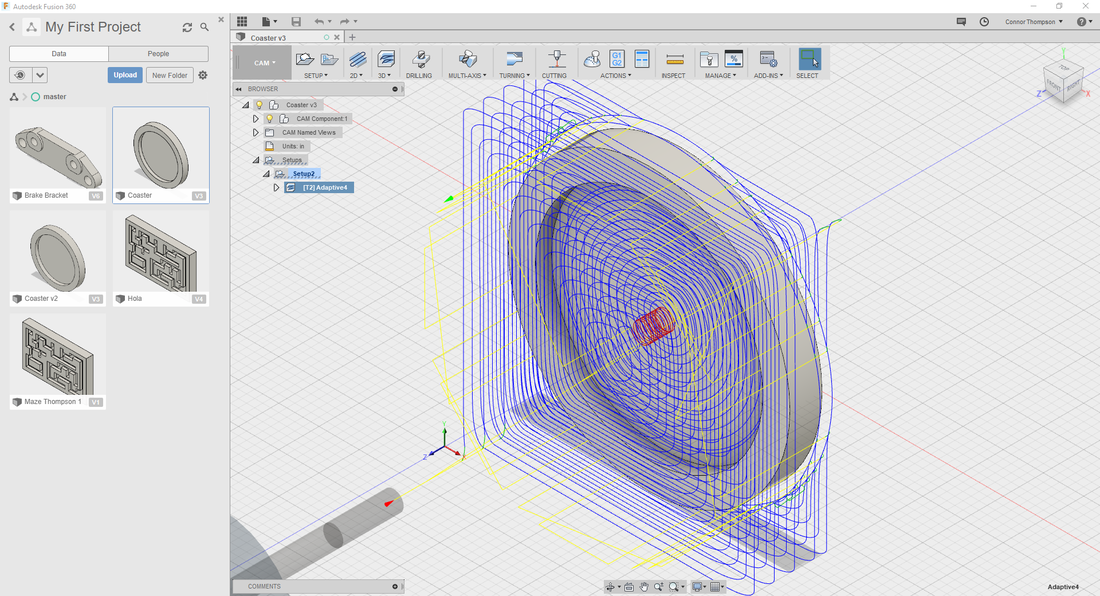
After I finished the wooden portion of the coaster, I headed over to Fusion 360, where I prepped my file to make sure that the CNC router could recognize it. After I ran the simulation and did all the necessary changes, I was ready to cut out my coasters.
|
|
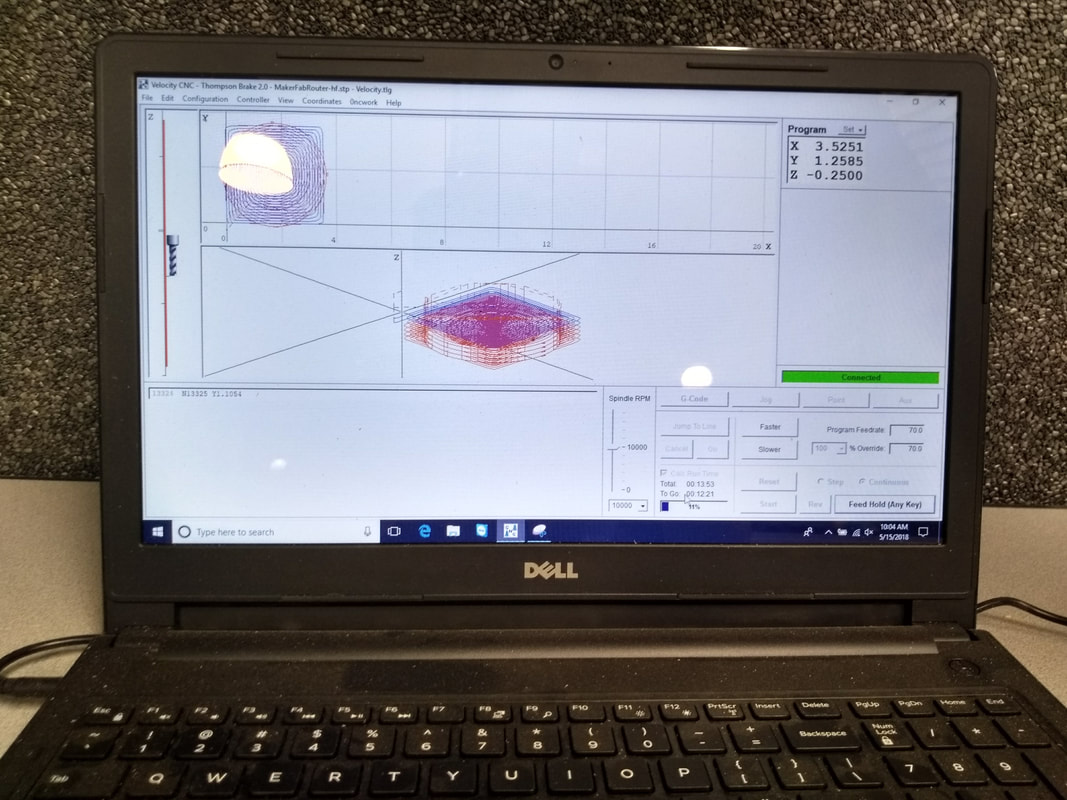
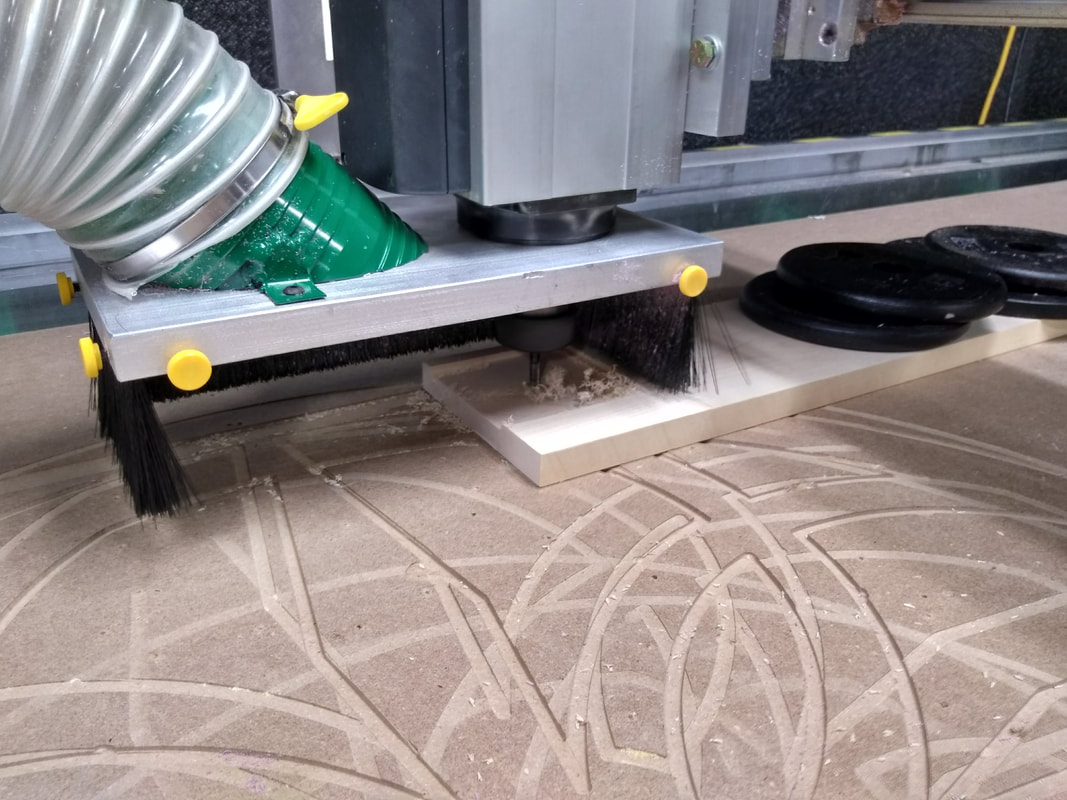
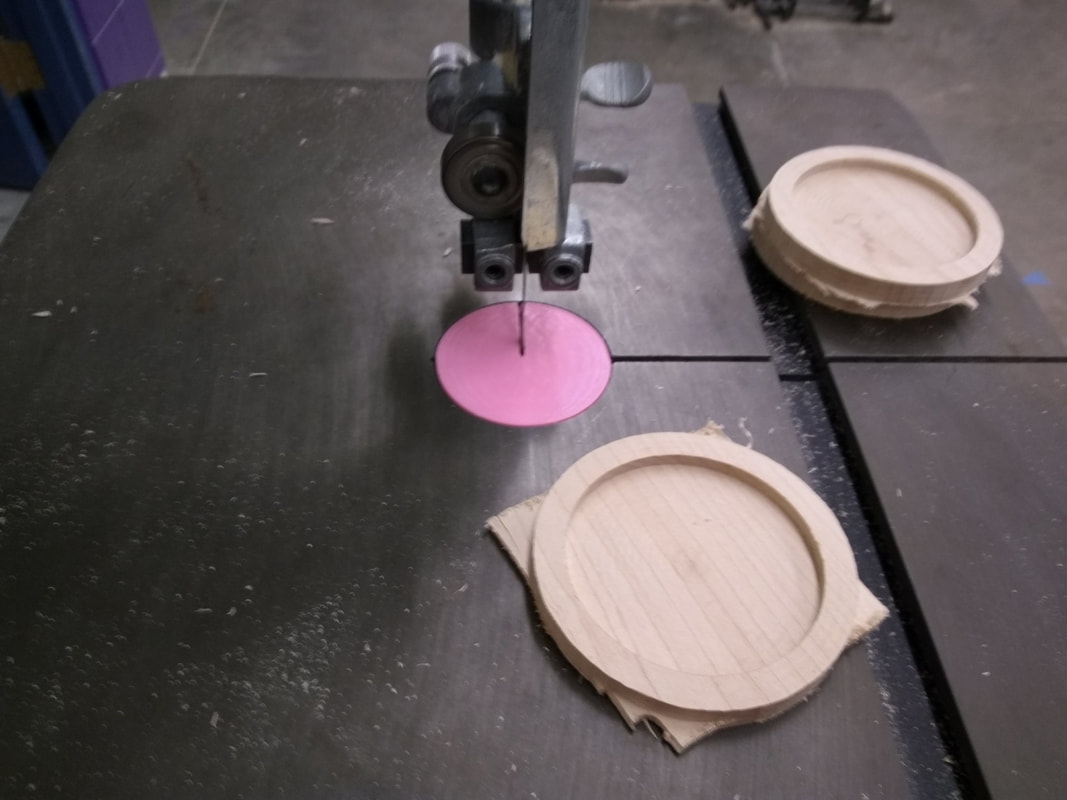
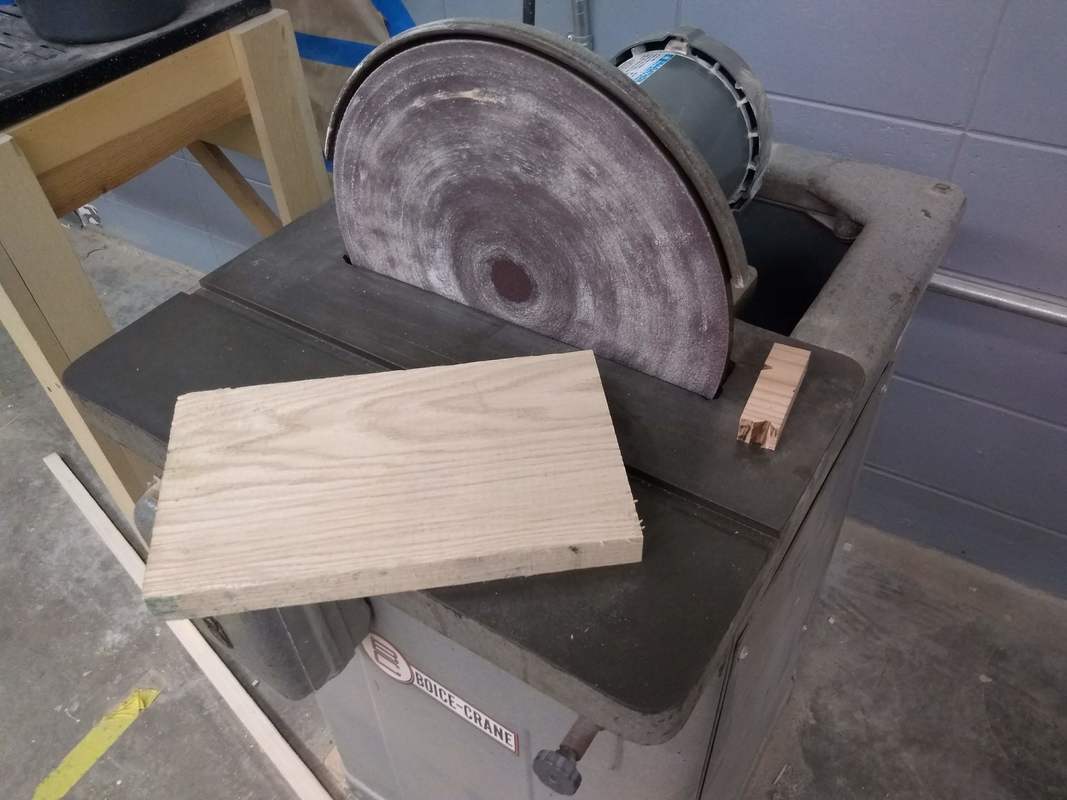
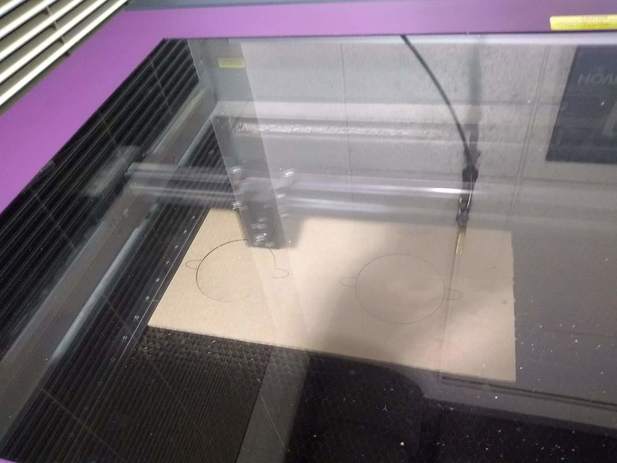
Once I set up my file down at the computer next to the router, I cut out the coasters. Once i successfully cut them out, I needed to cut the excess wood off of the coasters and also sand them to the desired smoothness and shape:
|
|
|
|
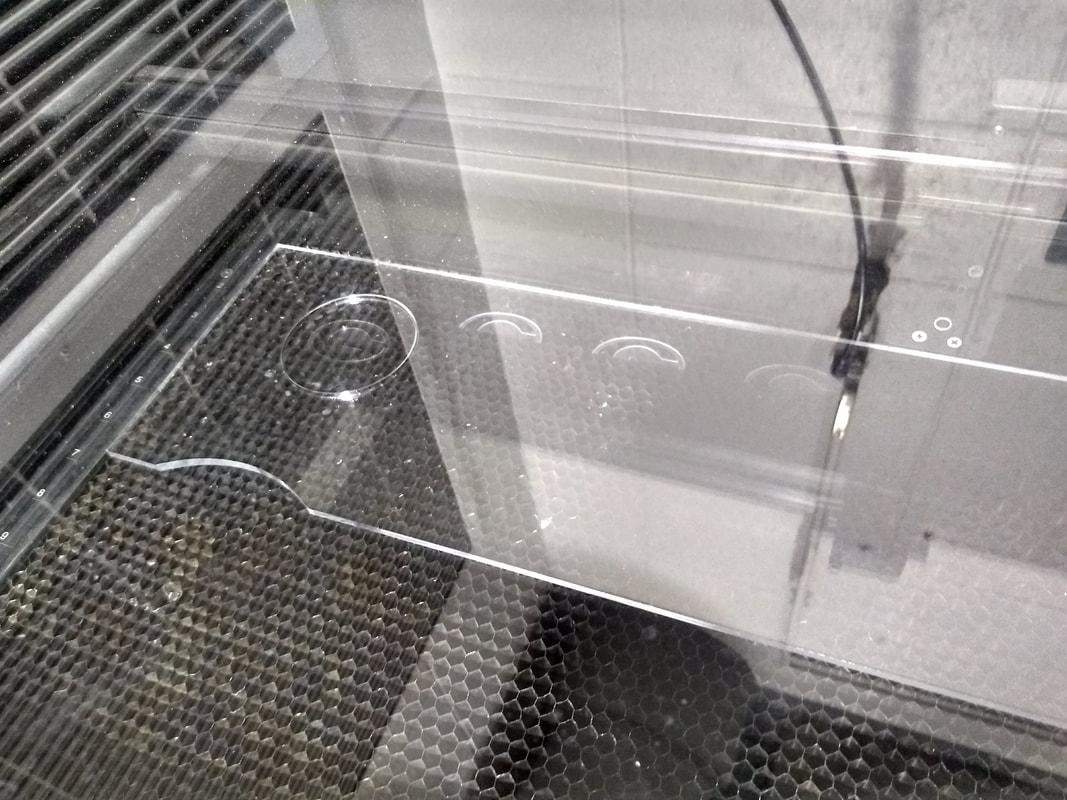
After I successfully completed the wooden section of my project, I headed over to the acrylic portion of my project. I needed to make the diameter of the acrylic circle the same as the socket in the wooden coasters:
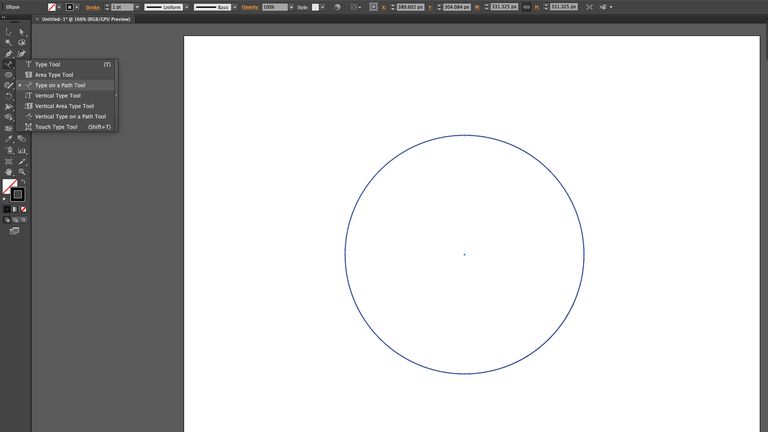
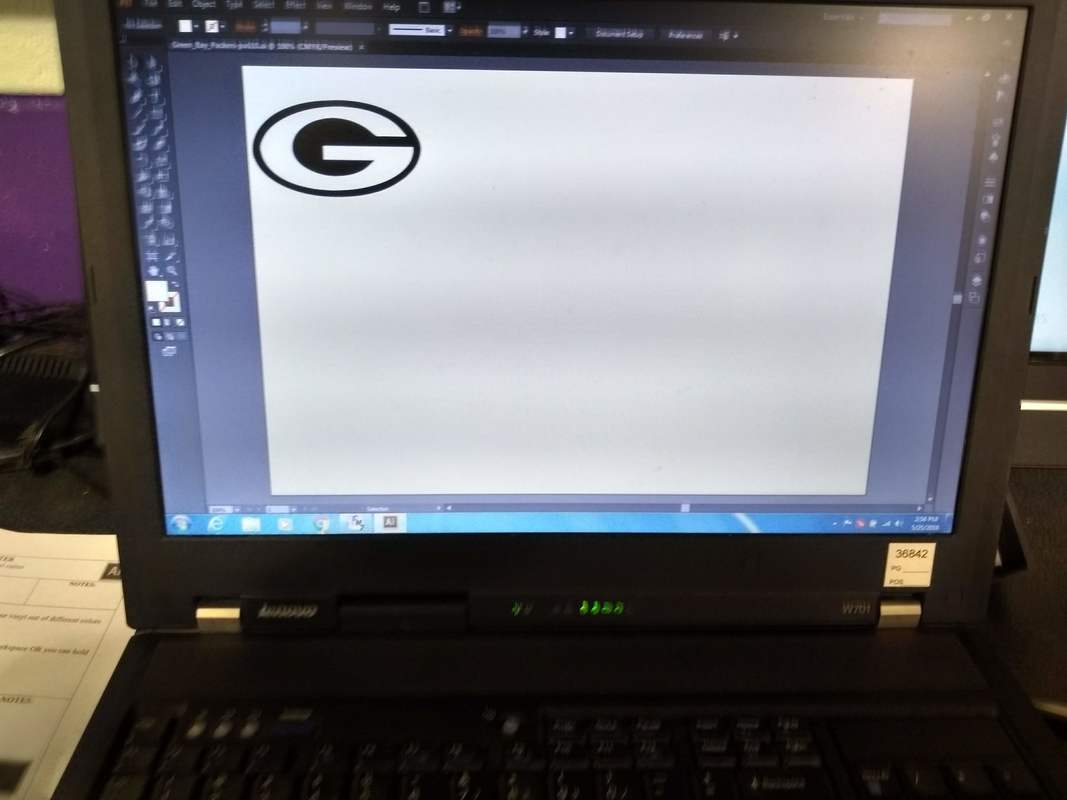
Once I image traced the circle and changed the outline of the circle to RGB red, I was ready to head over to the laser. But I wanted to make the whole coaster a little more personal, so I decided to put the green bay packers logo in the center of the circle. Once I image traced and made sure it was centered, I headed down to the laser to cut and engrave the acrylic portion of my final.
|
|
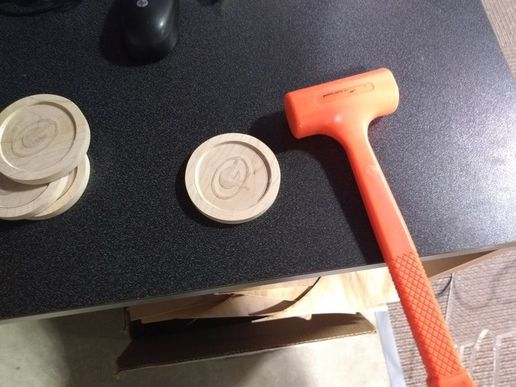
Since the diameter of the wooden and acrylic sections were the same, I didn't need to glue it in, I simply, and gently banged the acrylic into the wood:
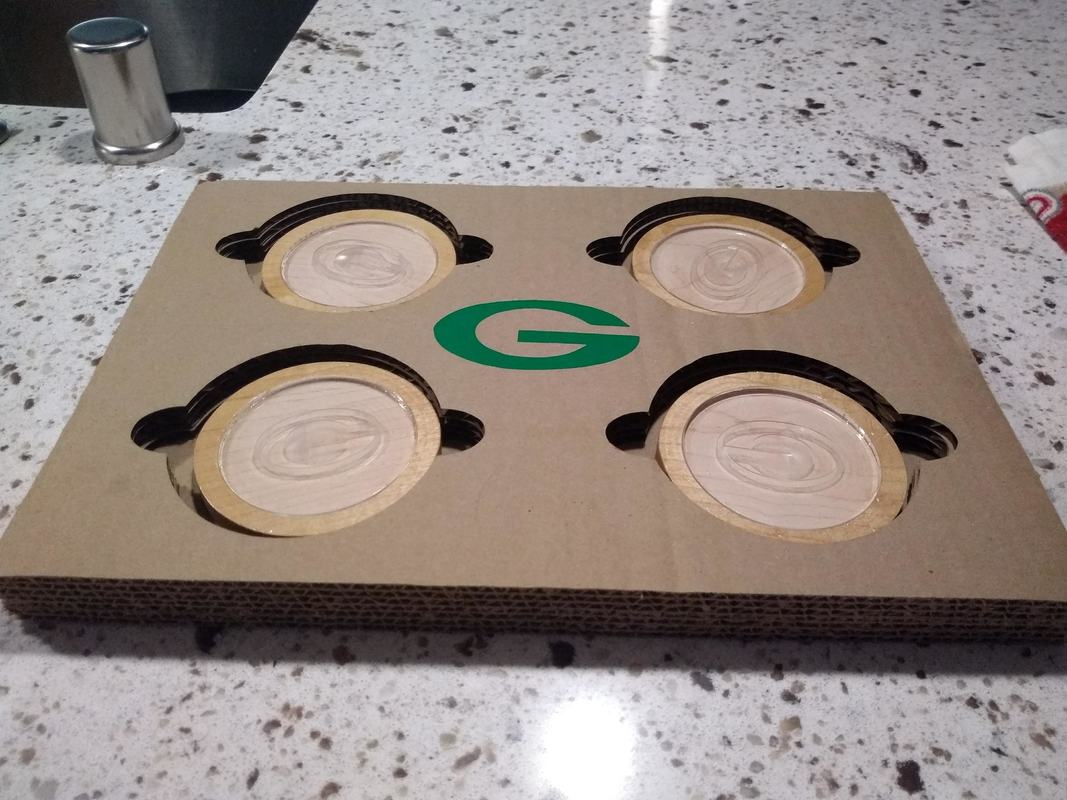
The next portion of the final was making a box out of cardboard to carry the coasters/store them. Although you could make it more complicated, I figured that you could just stack layers of throwaway cardboard together to create a holder:
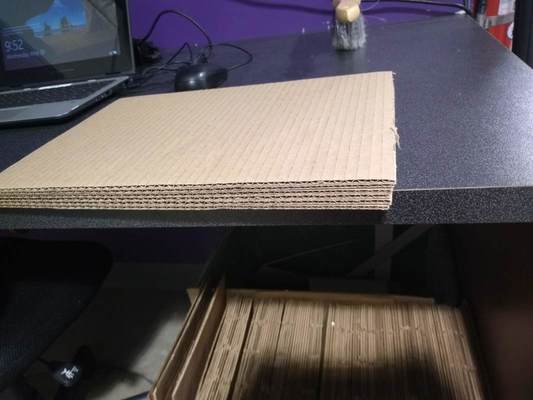
To make this happen, I simply redid the diameter of the whole coaster, made it a little bigger, and then made cutouts on the sides where you can pull the coasters out with your hands.
I kept doing this with the layers of cardboard until I had enough to create the box.
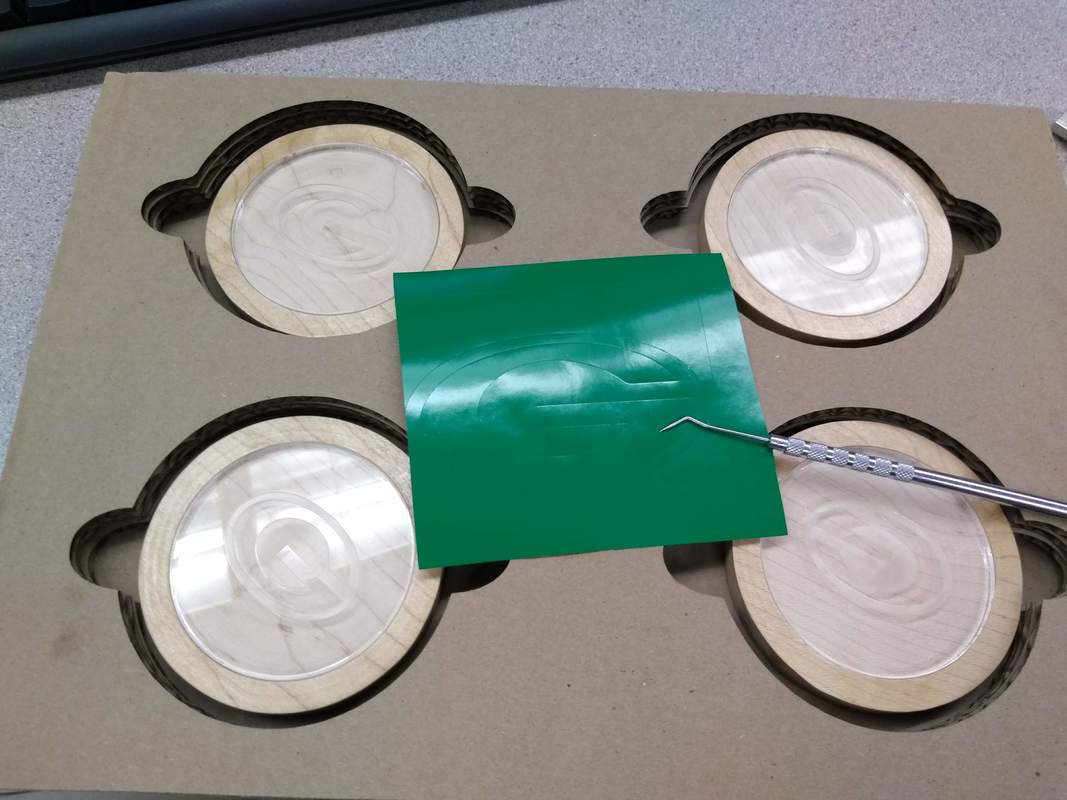
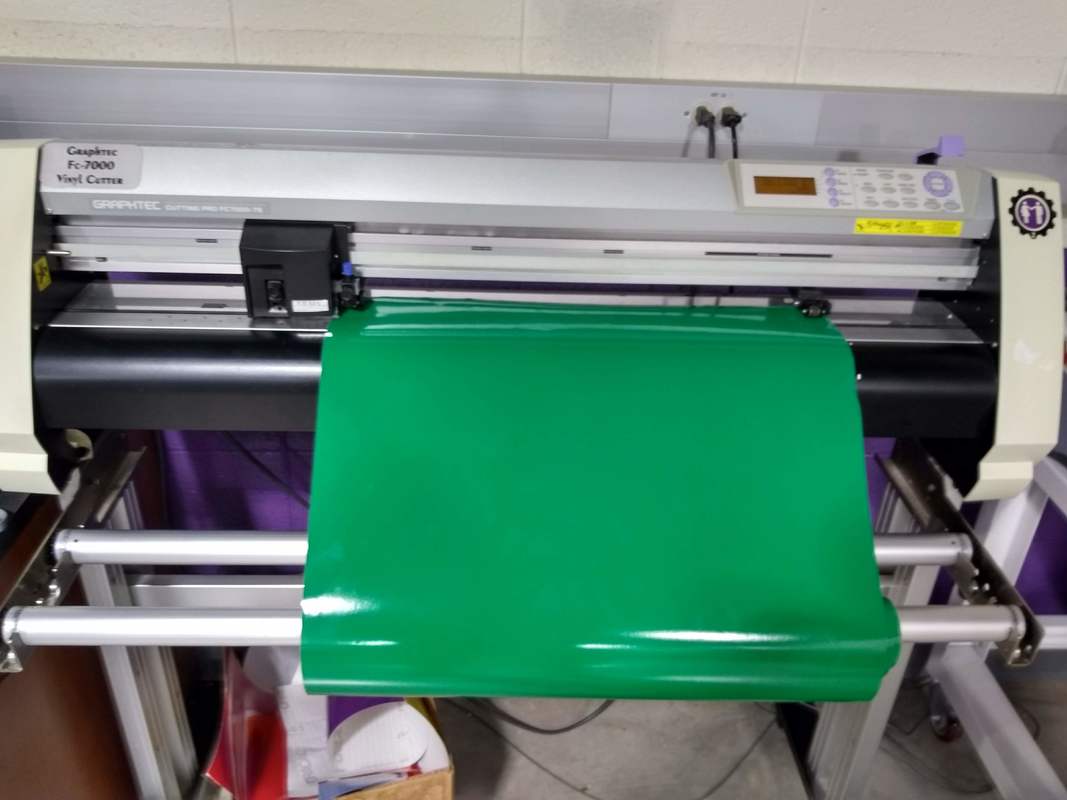
For the last and final portion of the project, I needed to create a vinyl decal to put on the cardboard box. I needed to find how big I could make the decal and where I would put it. I figured that a Green Bay Packers logo in the middle would look great. So once I configured my file, I headed down to the vinyl cutter to finish my final.

|
|
I've learned a lot in this class. I've learned hard work, perseverance, and pushing through. This class was challenging, but it allowed me to see if this is a path I would like to take in college and I am interested in possibly doing something like this. I want to thank Mr. Willauer for a job well done in teaching me and the patience to deal with me. It's been an incredible journey and I am glad I have taken this course.
