"Autodesk Inventor is a computer-aided design application for 3D mechanical design, simulation, visualization, and documentation developed by Autodesk."
|
One of our projects during this course is learning how to be proficient with a program called Autodesk. This program is vital and integral to 3D printing. It allows us to create, edit, and view objects before we even print it in real life. This has many uses and is utilized across many different career fields.
In this project, we had to create 6 "widgets" that we have on a piece of paper and translate that onto Inventor. Below is the process to make one of those widgets: |
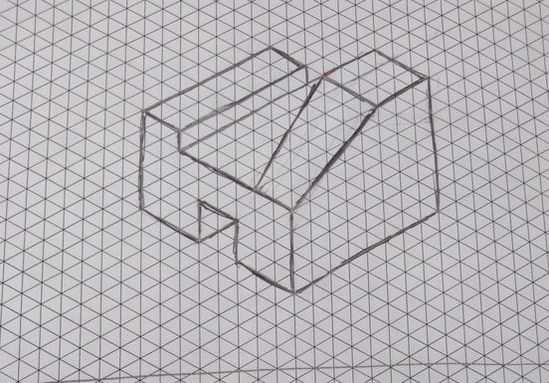
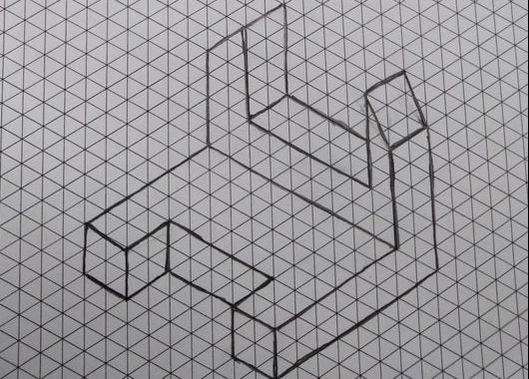
Before I started drawing the widgets in Inventor, I drew two of the widgets in my designer's notebook, shown below:
|
|
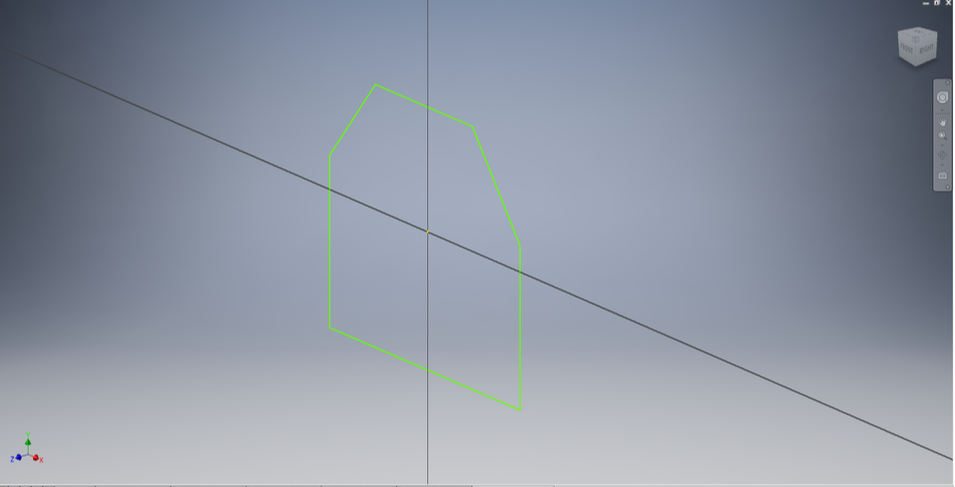
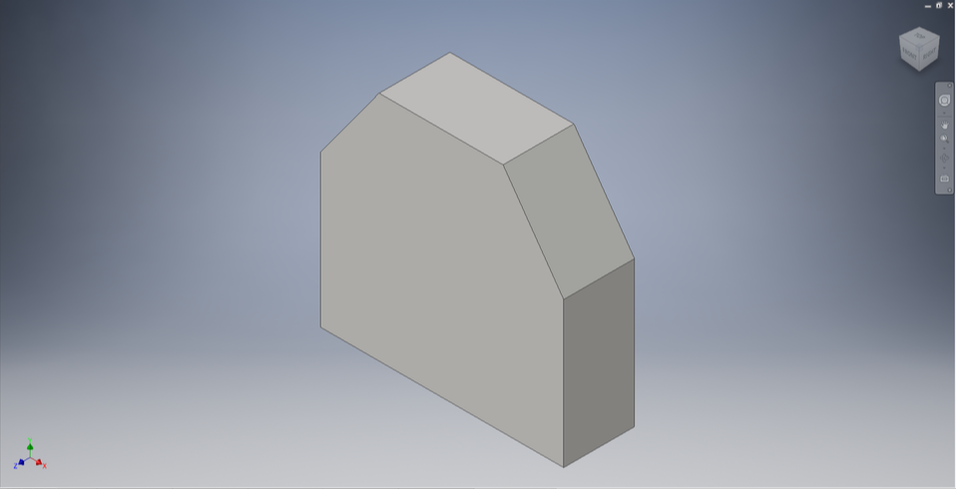
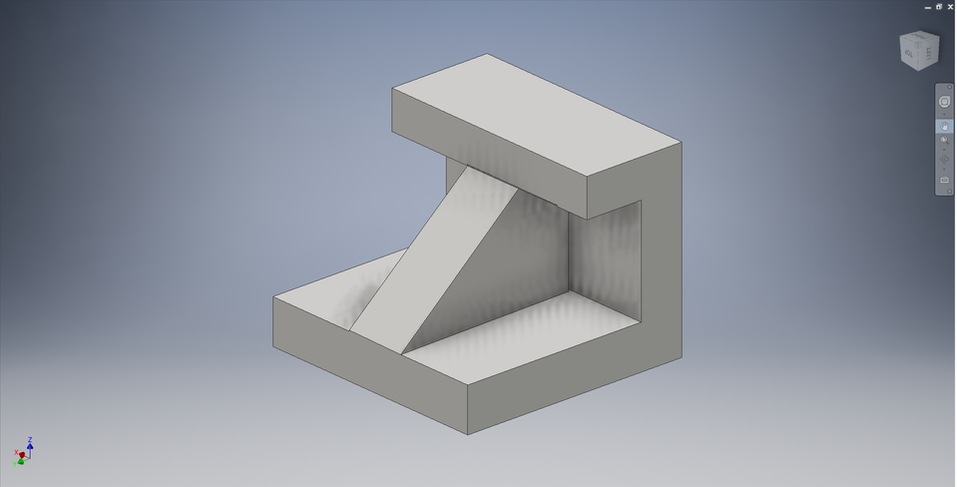
First of all, I needed to create the base shape of the widget so that I could build upon it and complete it. In order to do that, I had to draw one side of the base shape and then "extrude" ( make an 2D object 3D) it, shown below:
|
|
|
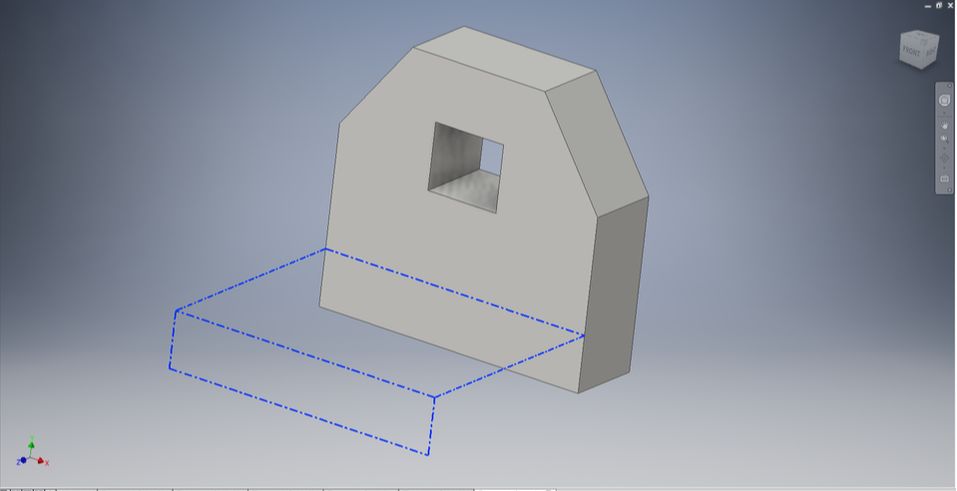
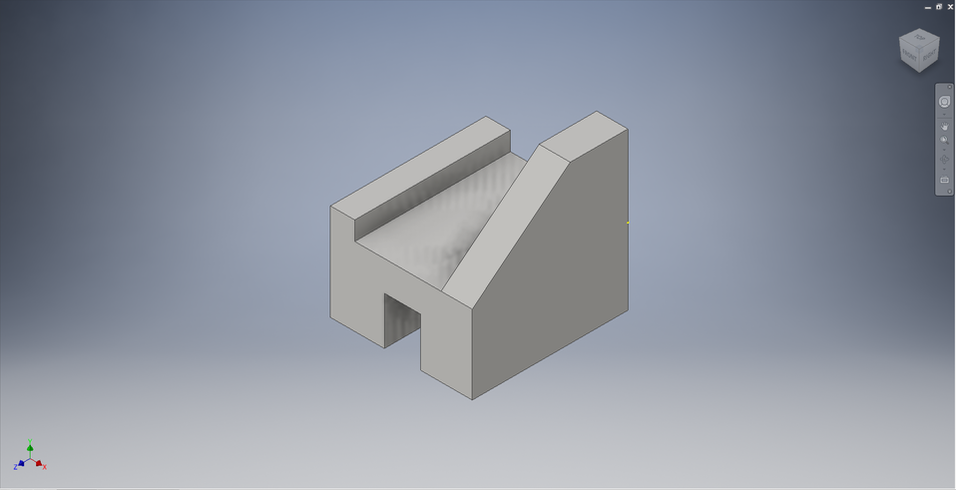
The next step was to draw the second half of the widget and draw a rectangle onto the base shape and extrude it, shown below
|
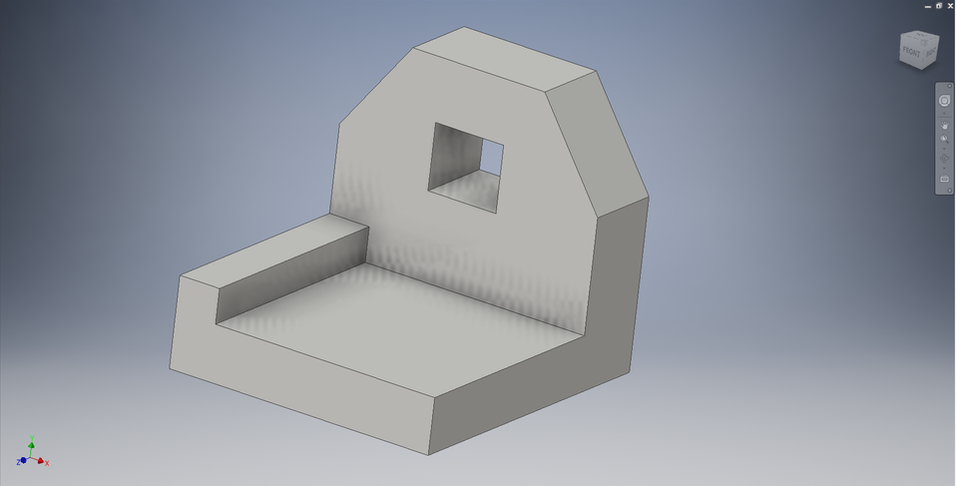
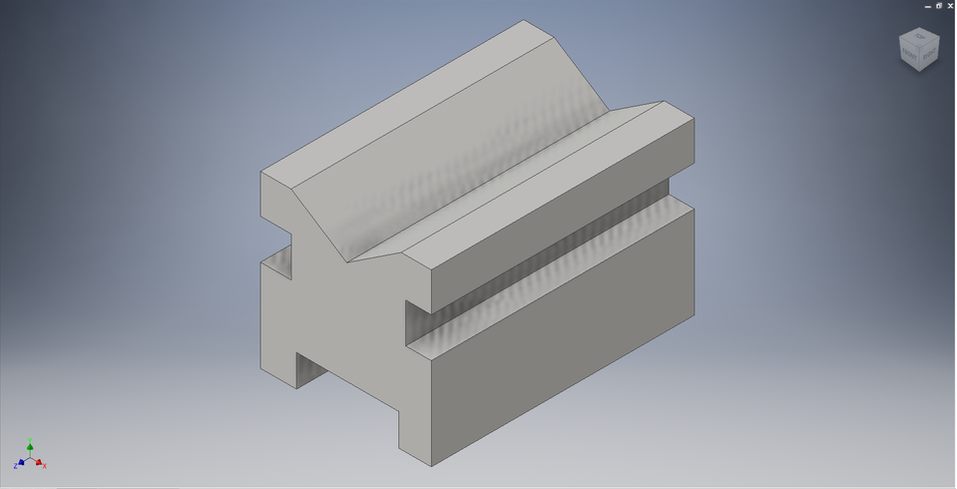
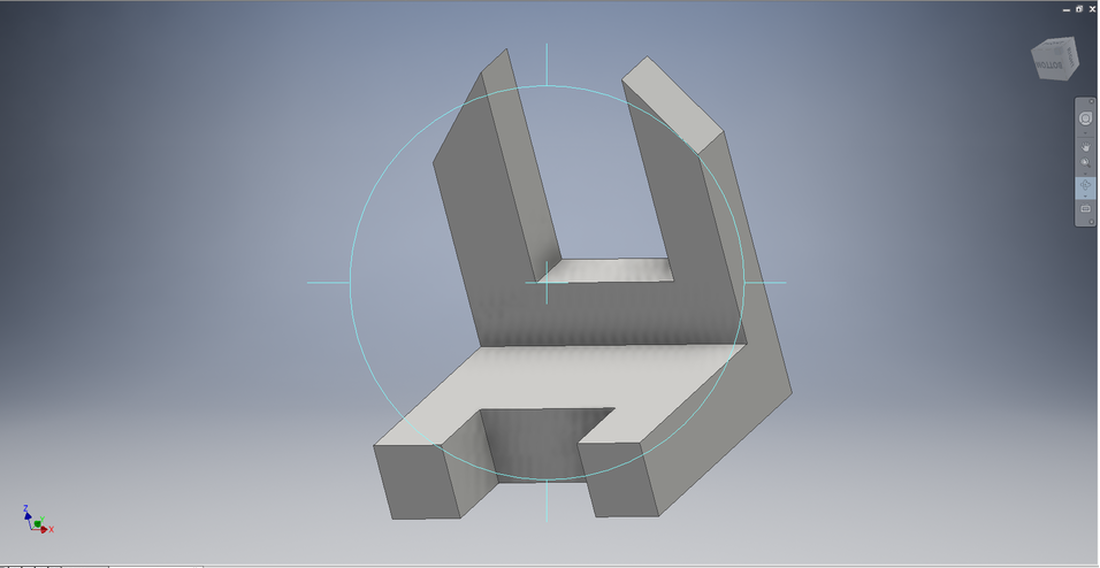
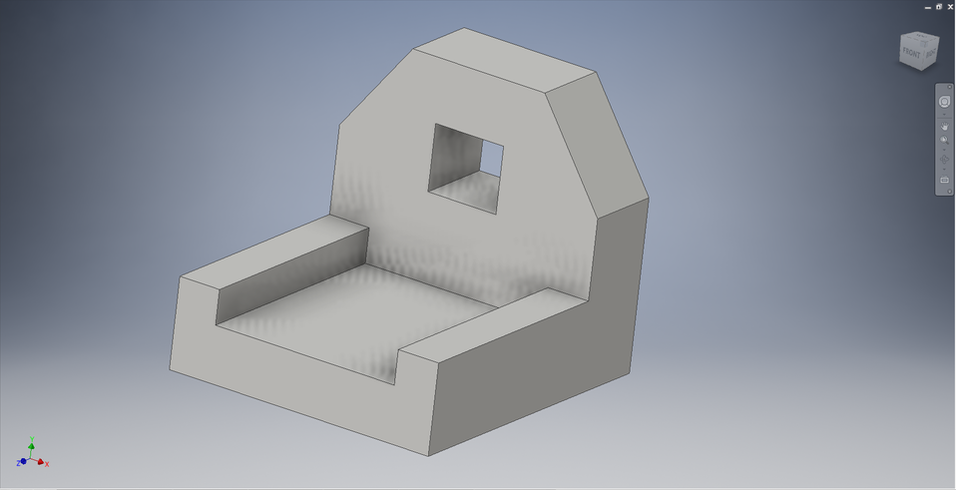
After building the rectangle onto the base shape I had to finish the widget by constructing pillars onto the rectangle I just created, shown below:
|

|
After I had drawn the two pillars, I finished the widget and successfully transcribed it from paper to Inventor.
Below are screenshots of the six widgets:
Below are screenshots of the six widgets:
|
|
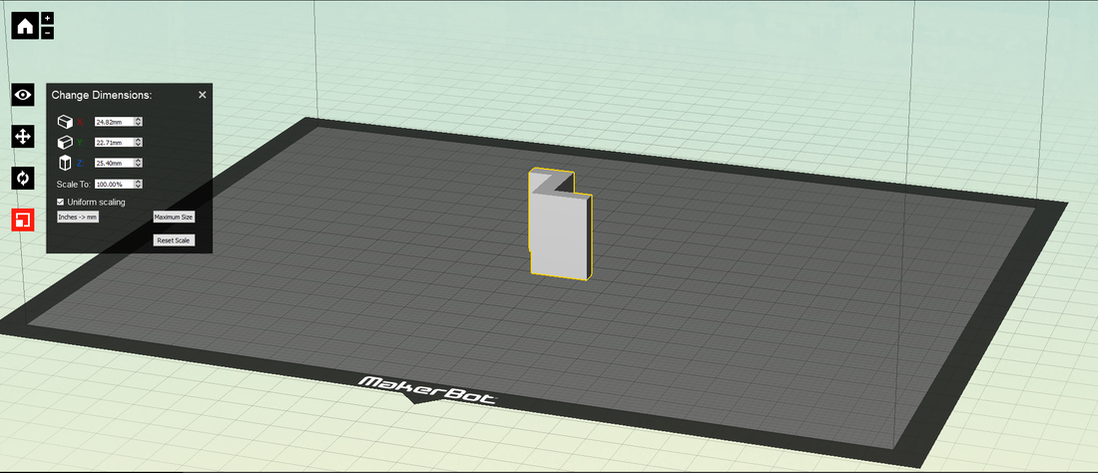
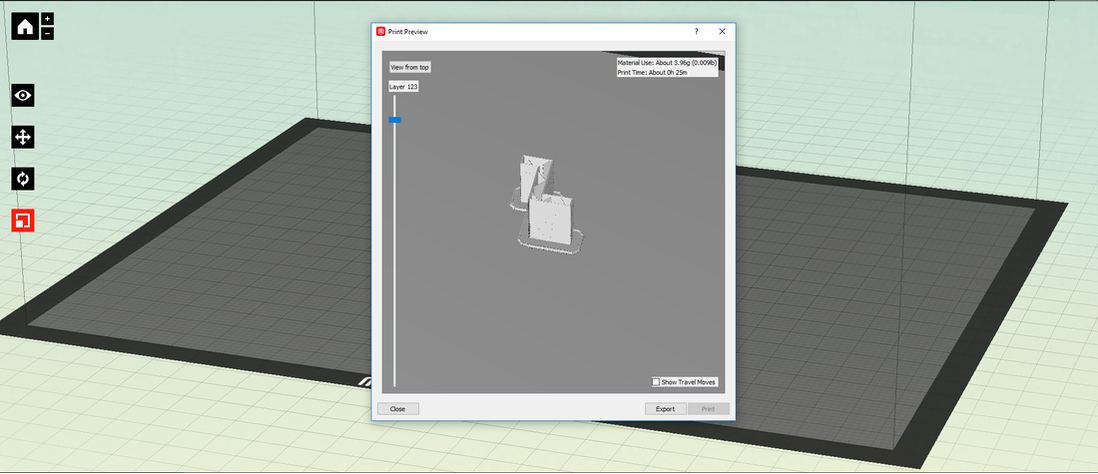
Once I completed my drawings in Inventor, I had to begin the process of printing my work. In order for that to happen, I needed to use a program called MakerBot, which translates my Inventor files into files the 3D printer can register with, shown below
|
|
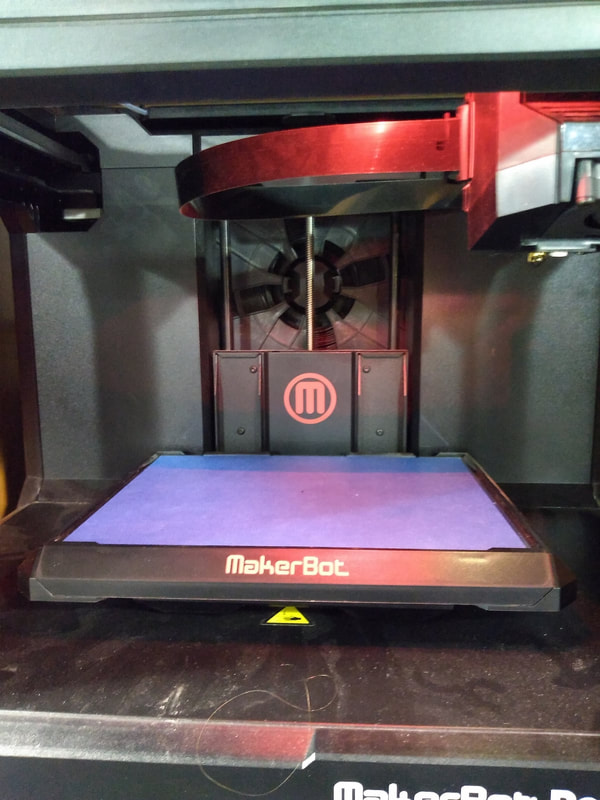
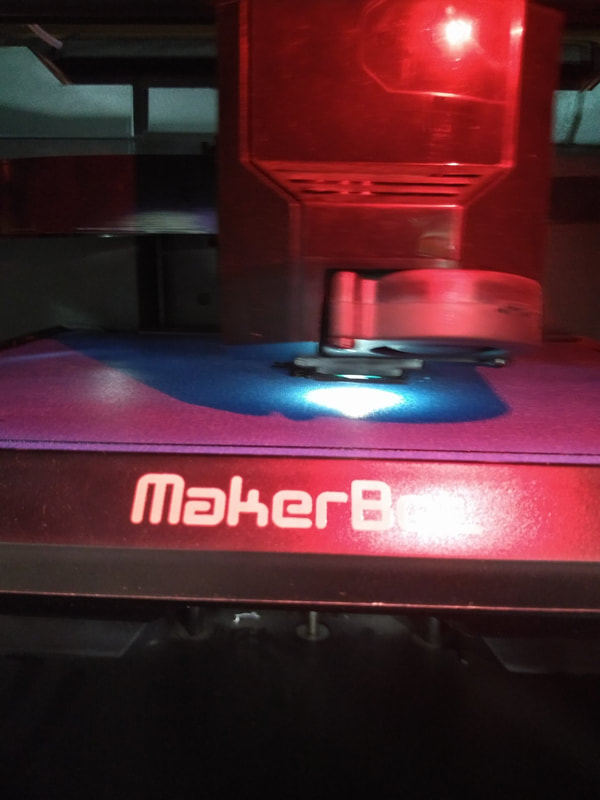
After I successfully transferred the files to MakerBot, I headed down to the 3D printer, set it up, and started printing
|
|
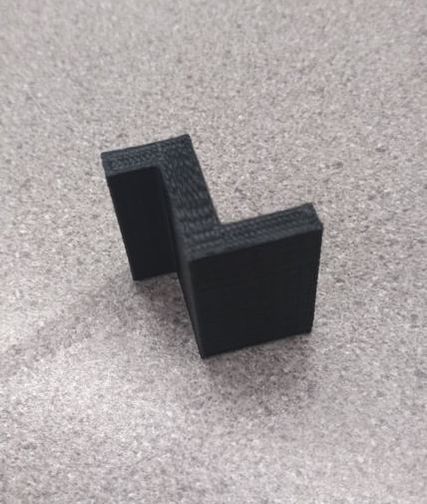
And voila! That is how to make a widget from start to finish. My completed widget is shown below: