In my third rotation, I was assigned the individual laser assignment. This rotation was uniquely different from the rest, due to the fact that there were three smaller projects compressed into one big assignment. In this project I had to create a notepad out of mat board, a laser engraved aluminum water bottle, and a 3D object cut from wood from Thingiverse, approved by Mr. Willauer. In order to complete this assignment, I needed to decide which task I wanted to focus on first. Mr. Willauer suggested to everybody that we started with the notepad, due to the fact that it was the easiest to complete.
To start off, I needed to figure out what design I wanted for my notepad. Since I plan on going into the Air National Guard, I wanted to have my notepad show that. The local Guard station is the 115th Fighter Wing located in Madison. This station is the one I soon will be joining, so I thought it would be cool to have something that reflected that. In this project, the teacher allowed us to find a two dimensional logo on the internet for our notepad, due to the complexity of some of the designs. This made creating my notepad a little easier.
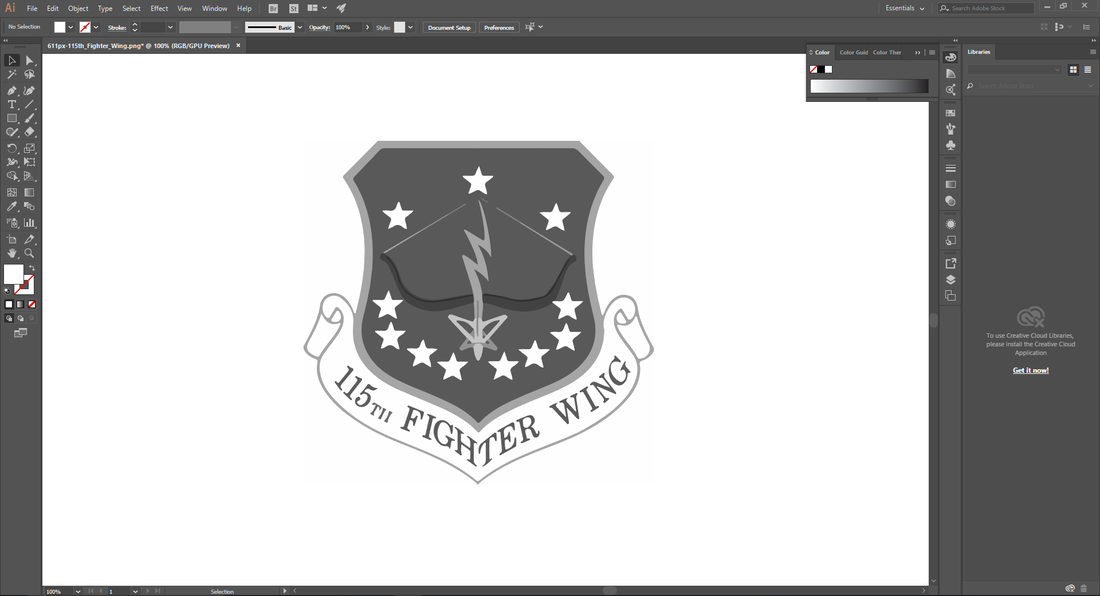
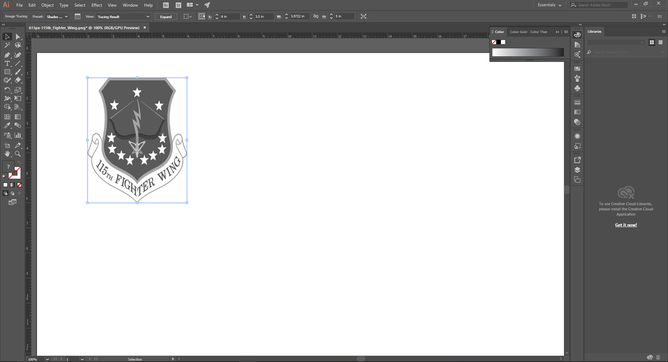
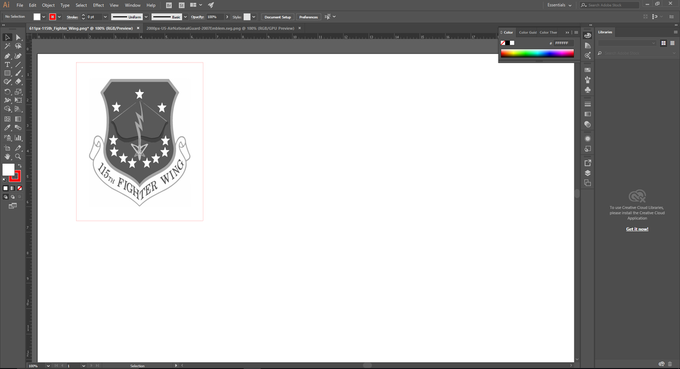
In the pictures below I found a suitable logo of the 115th Fighter Wing. In order for the laser cutter to recognize the logo to engrave, I needed to image trace the picture, and make sure that it was black, not red, because I want it to engrave, not cut.
To start off, I needed to figure out what design I wanted for my notepad. Since I plan on going into the Air National Guard, I wanted to have my notepad show that. The local Guard station is the 115th Fighter Wing located in Madison. This station is the one I soon will be joining, so I thought it would be cool to have something that reflected that. In this project, the teacher allowed us to find a two dimensional logo on the internet for our notepad, due to the complexity of some of the designs. This made creating my notepad a little easier.
In the pictures below I found a suitable logo of the 115th Fighter Wing. In order for the laser cutter to recognize the logo to engrave, I needed to image trace the picture, and make sure that it was black, not red, because I want it to engrave, not cut.

|
|
After I did this, I needed to figure out an appropriate size for my notepad. Too big, and it's not very portable. Too small, and you can't write much on it. I figured that 5 inched height-wise and 4 inches length-wise were good dimensions for it.
Once that was finished, I put the rectangle around the logo and made it so that it it was centered and looked even. After that was completed, I made the rectangle red and set it to 0.0001 pt stroke.
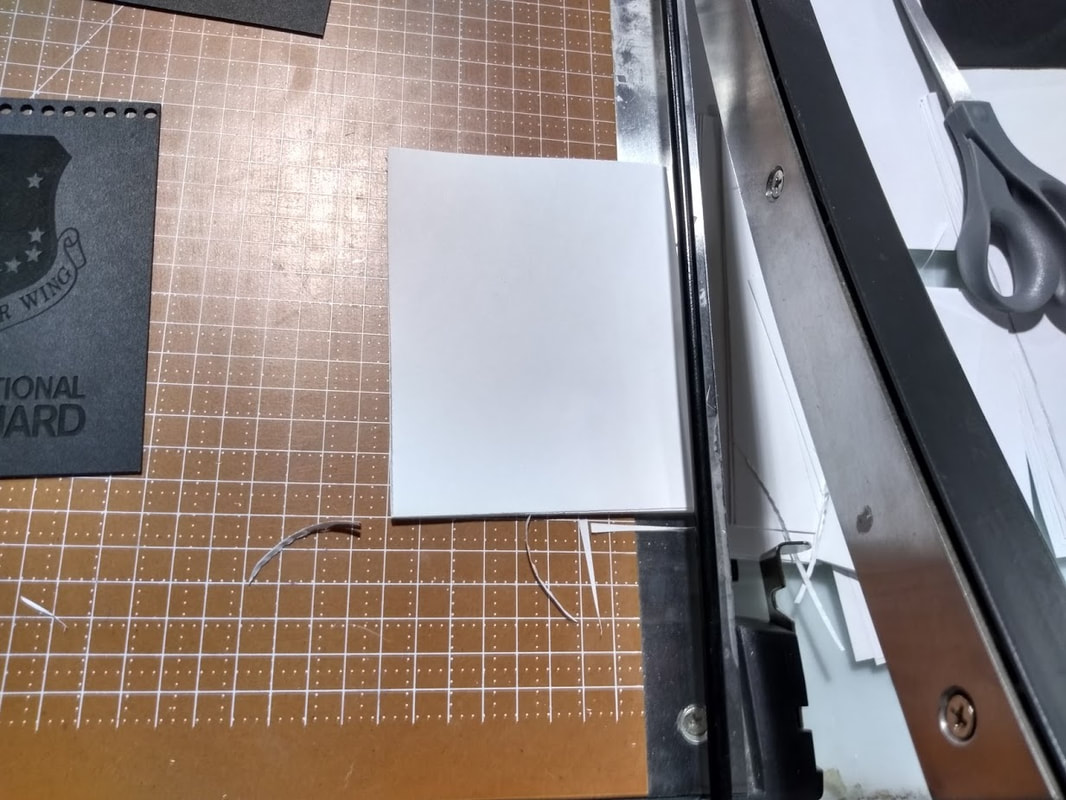
After, I proceeded to engrave and cut out the notepad. Once I cut it out, I simply cut out another square of the same dimensions. I also needed to cut holes into the two pieces so I could thread the spiral to connect them together.
|

|
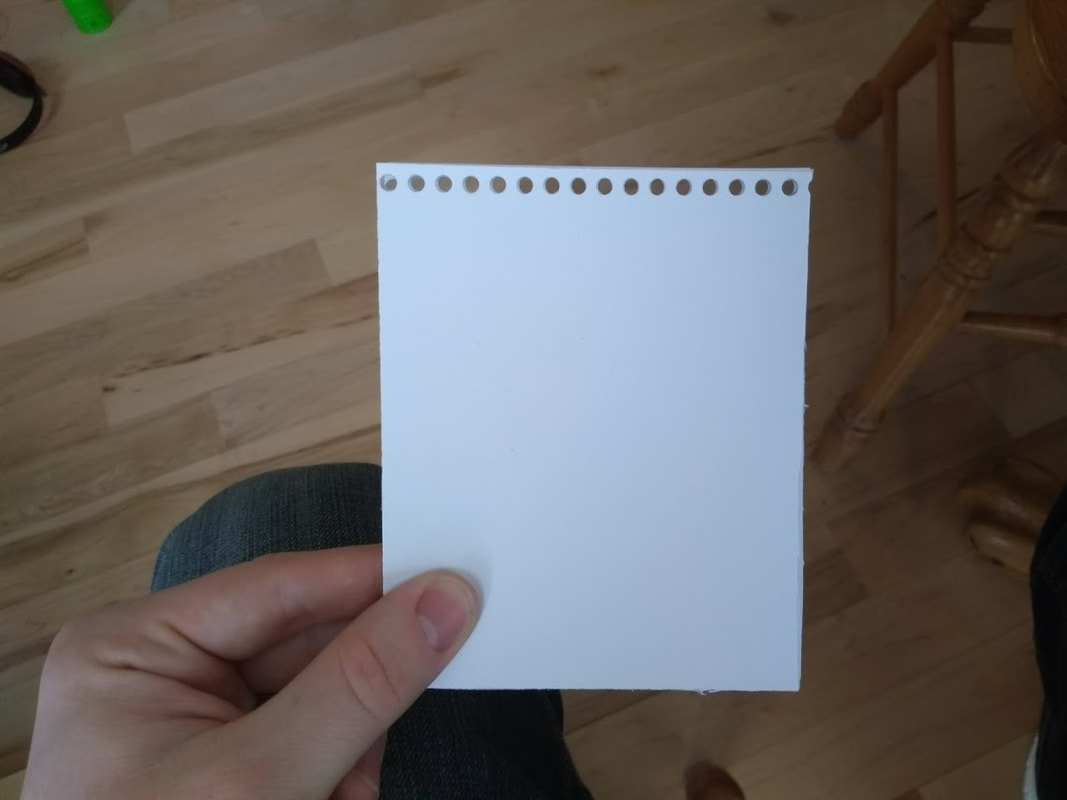
After, I needed to cut out paper of the same size to fill the notepad, and also hole-punch it so it can be threaded. At first this was difficult, but then I sketched the size out I was able to easily get the correct dimensions.
|
|
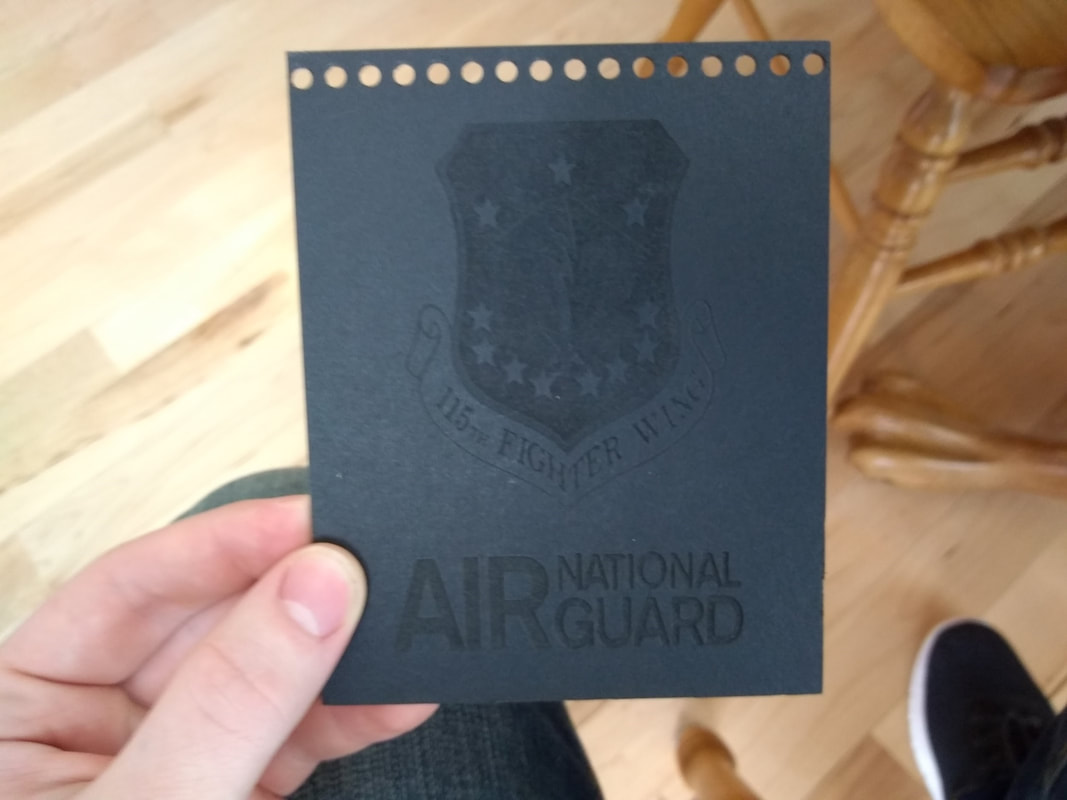
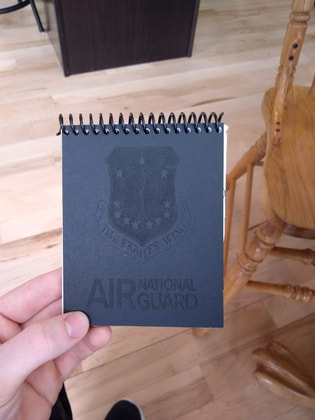
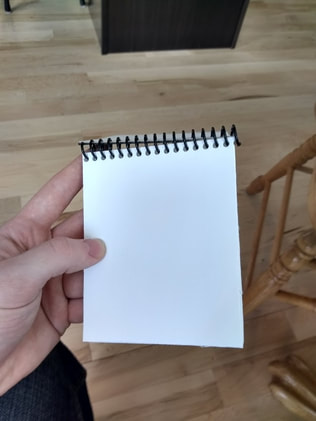
After I cut out the paper, I put all the pieces together and I think it turned out great:
|
|
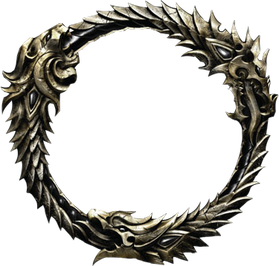
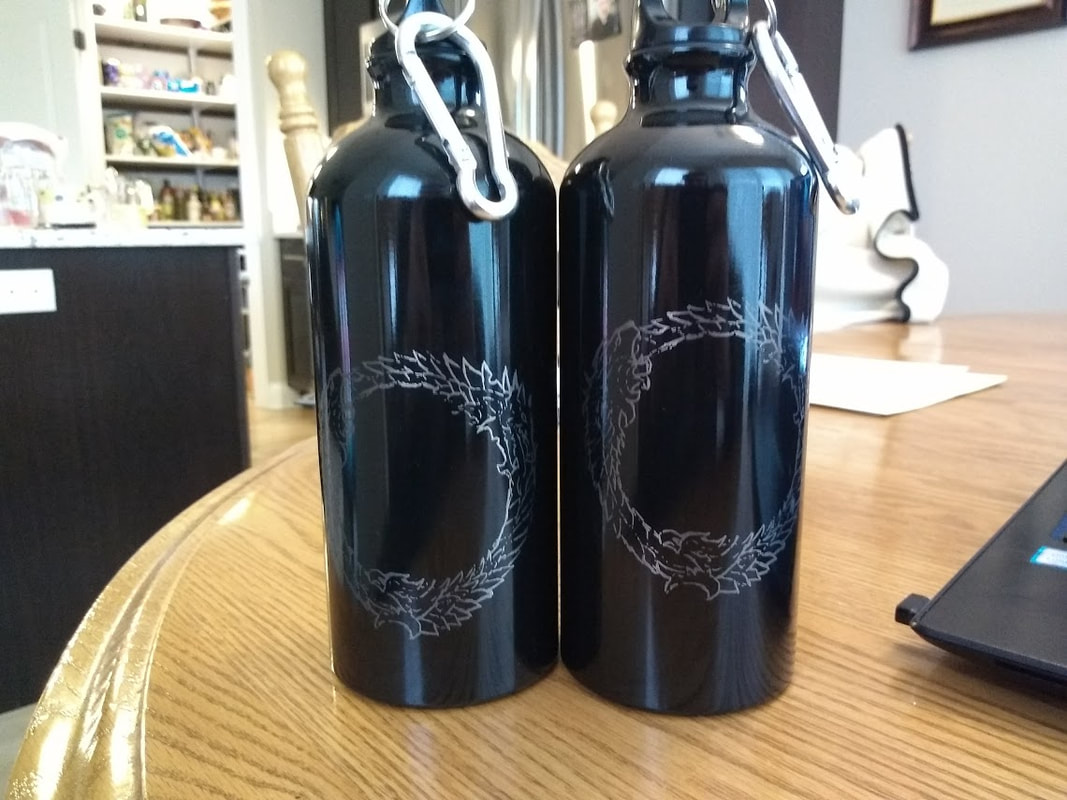
In my next mini project, I had to create a laser engraved water bottle. Mr. Willauer provided us with a generic water bottle and told us to go at it. Throughout my time in this class, I have focused heavily on the military and building and creating objects that reflect that. For this activity I wanted to deviate from the normal way point I've been following. For my water bottle, I chose to engrave the logo of one of my favorite video games, ESO. The design itself would have been pretty hard to engrave correctly, due the CGI metallic finish, so I chose a variation somebody drew.
|
|
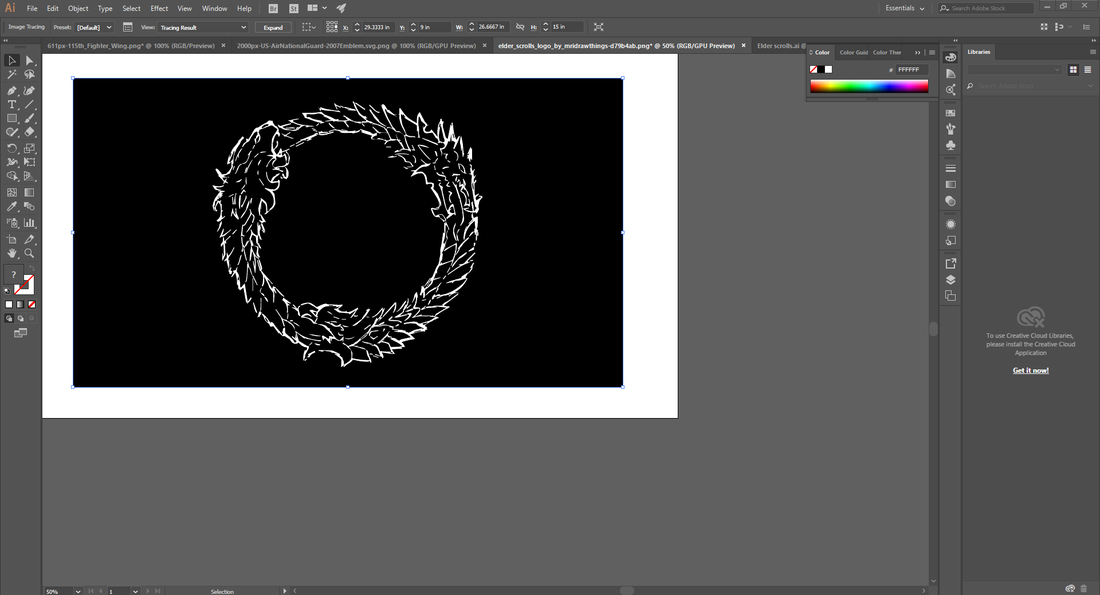
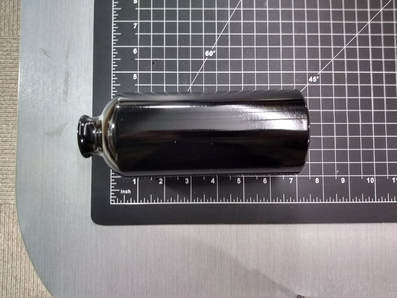
The first thing I needed to do was of course image trace the picture, so that it can be recognized by the laser cutter. After this, I had to measure the water bottle, being careful not to measure the parts I couldn't engrave. I found the engraved length to be about ________________________
|
|
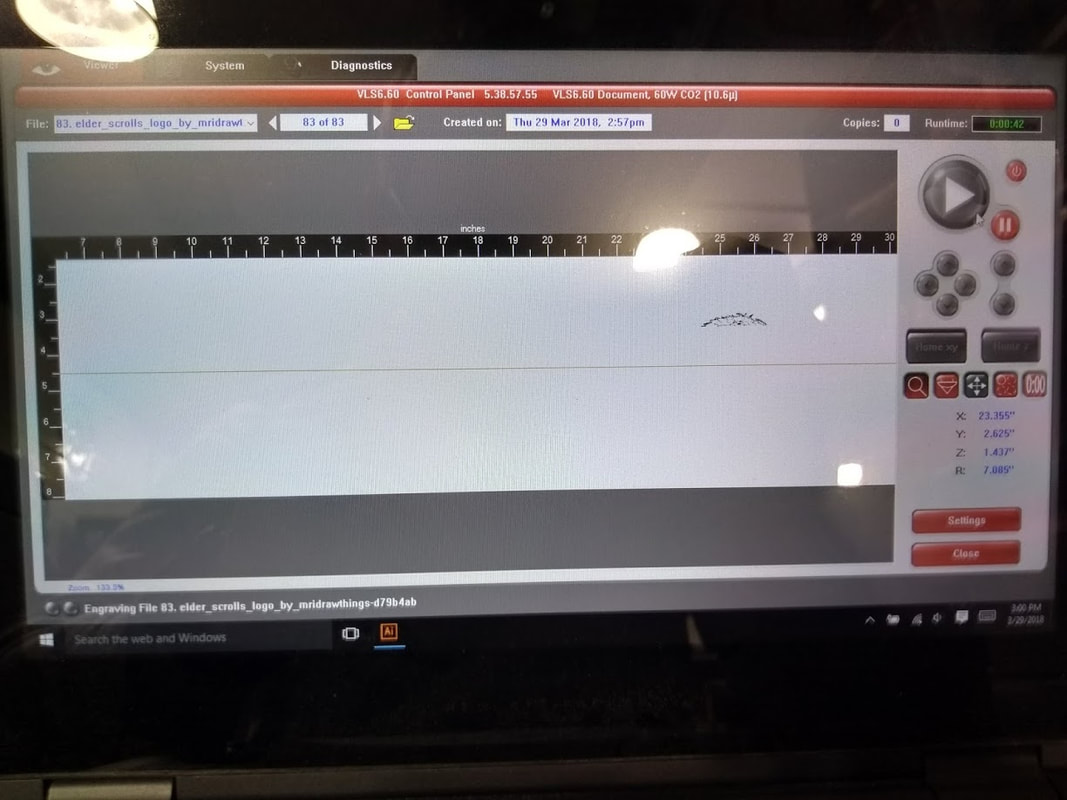
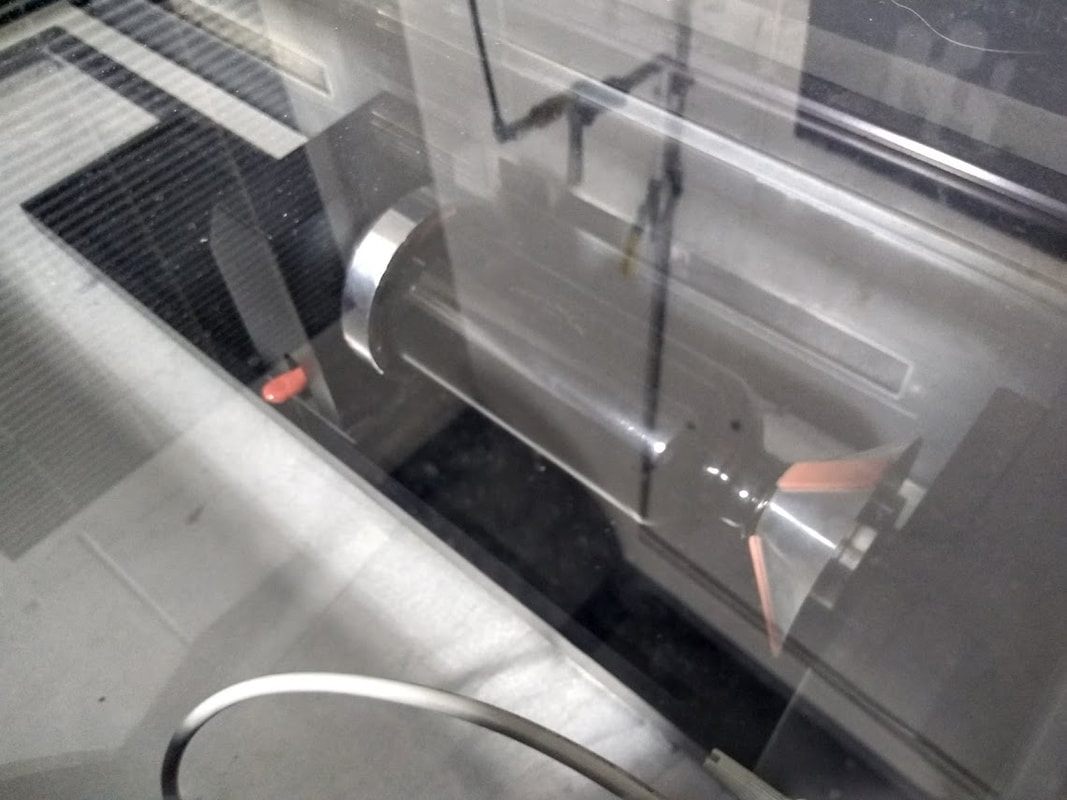
Once piece of critical advice is that we needed to rotate 270 degrees so that the laser doesn't engrave it the wrong way. Once I knew what the length was and where I wanted to place my logo on the water bottle, I placed my water bottle onto the rotary jig and began to engrave it. Almost immediately I noticed that the laser was engraving too far down and made it look uneven, so I let it finish and then I examined what I did wrong. I accidentally placed the laser to cut from the center, not the top. Once I fixed this mistake, I started over again with a new one and it engraved beautifully, shown below:

|
|
For the third and final project, I had to create a 3 dimensional object from laser cut parts from the website Thingiverse. I wanted to find something practical to use at home, so I had to think about things that would be useful to me or the house. Eventually I realized that a fruit bowl would be perfect. We have a lot of fruit at home and the bowl we use is too small, so I thought it would be the perfect project.
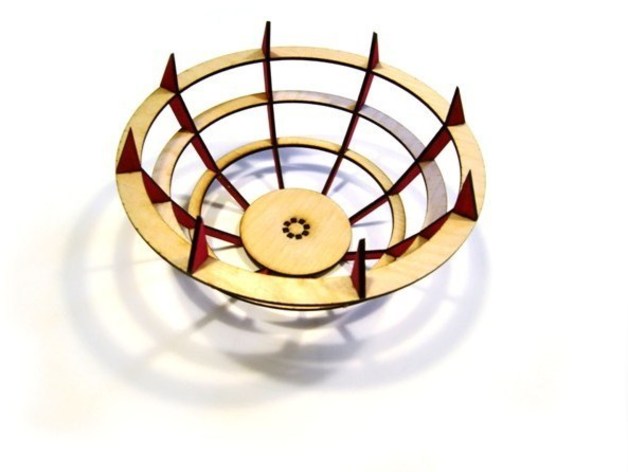
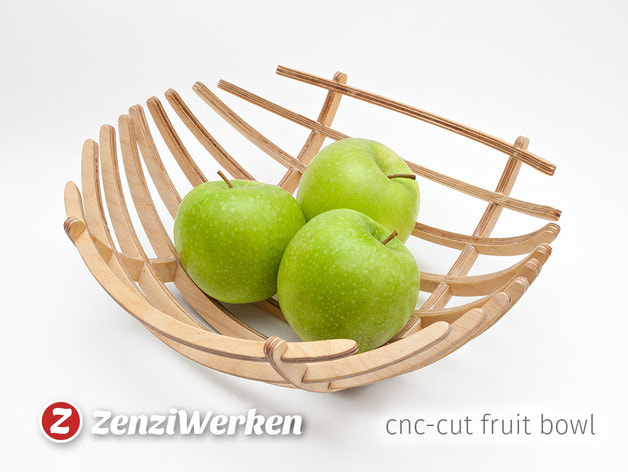
I looked up some designs that I thought would be good candidates for what I want to create (shown below). Eventually I decided to pick the picture on the right because the first one looks a little too aggressive for what I was looking for:
I looked up some designs that I thought would be good candidates for what I want to create (shown below). Eventually I decided to pick the picture on the right because the first one looks a little too aggressive for what I was looking for:
|
|
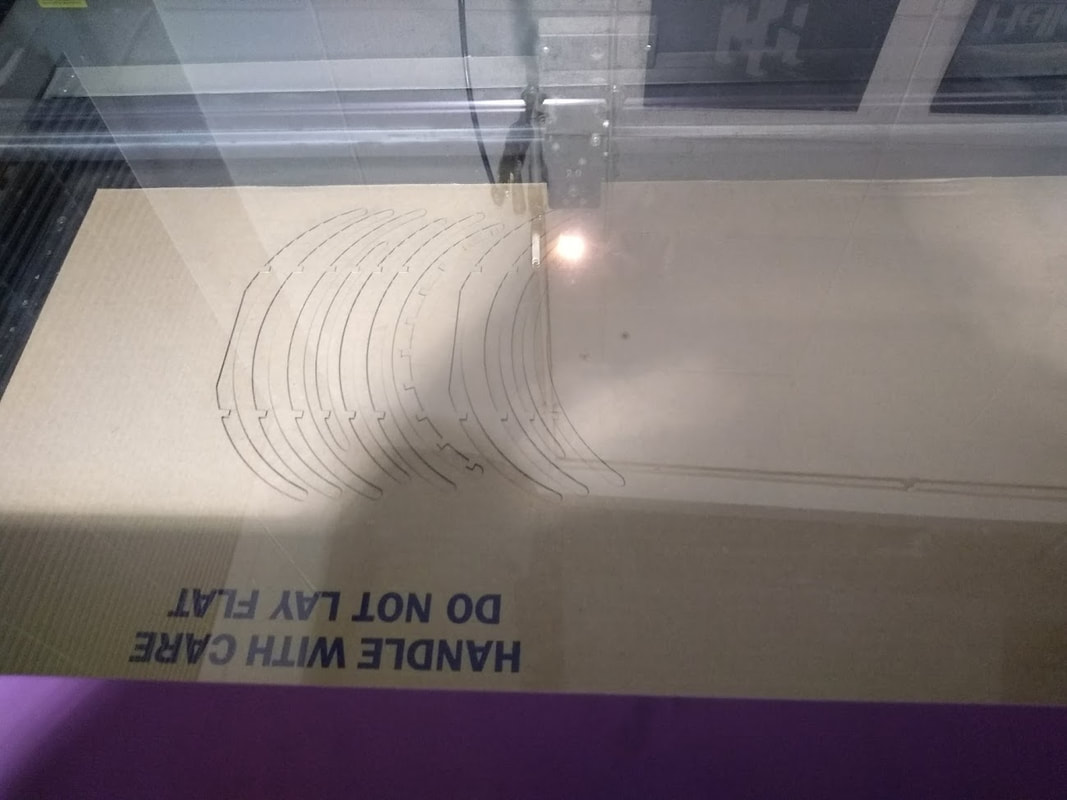
I really like the design on the right and felt like it would compliment the rest of the house. I downloaded the files and prepared them in Illustrator. I had to image trace first, and the outline the design in red not black because I want it to cut, not engrave.
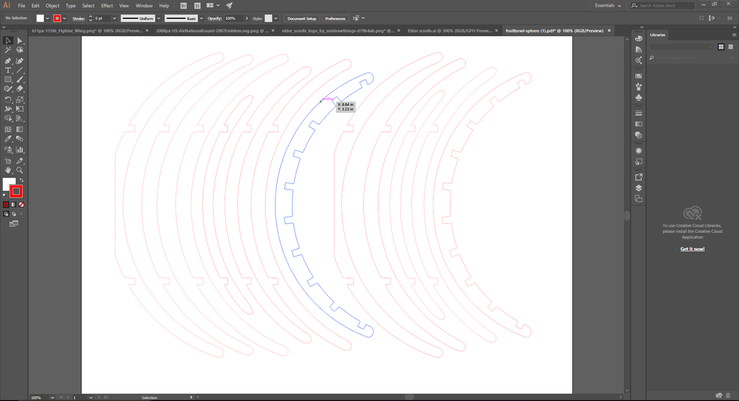
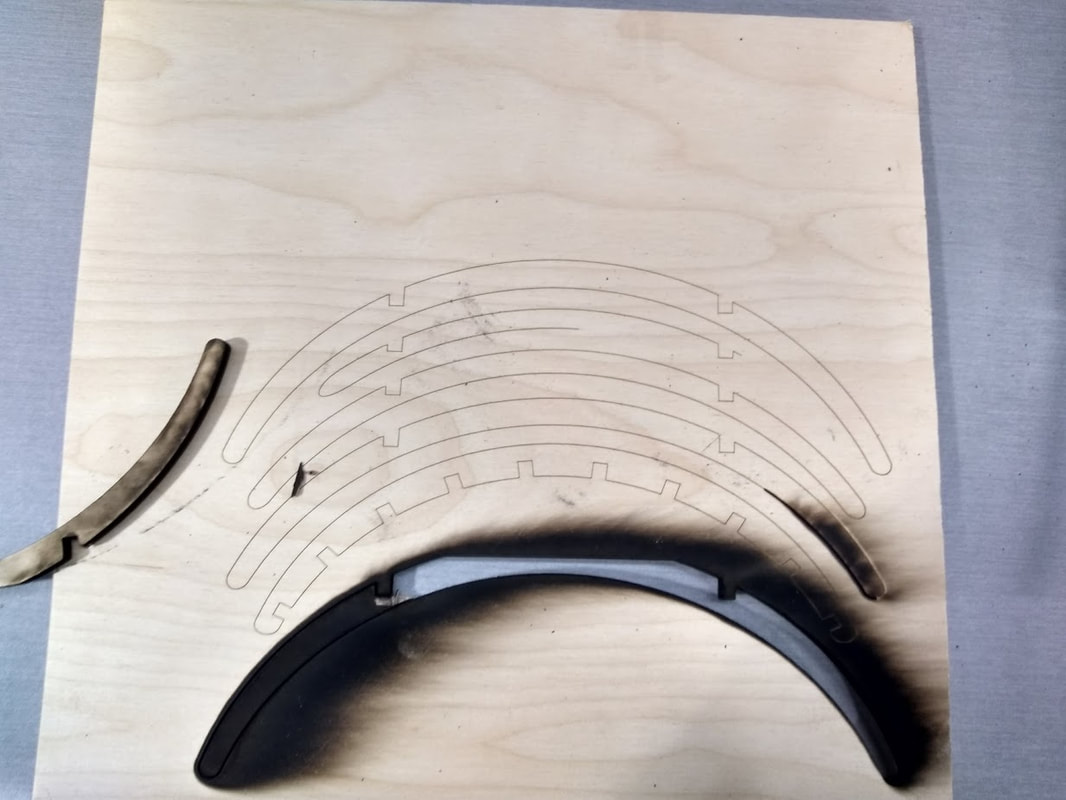
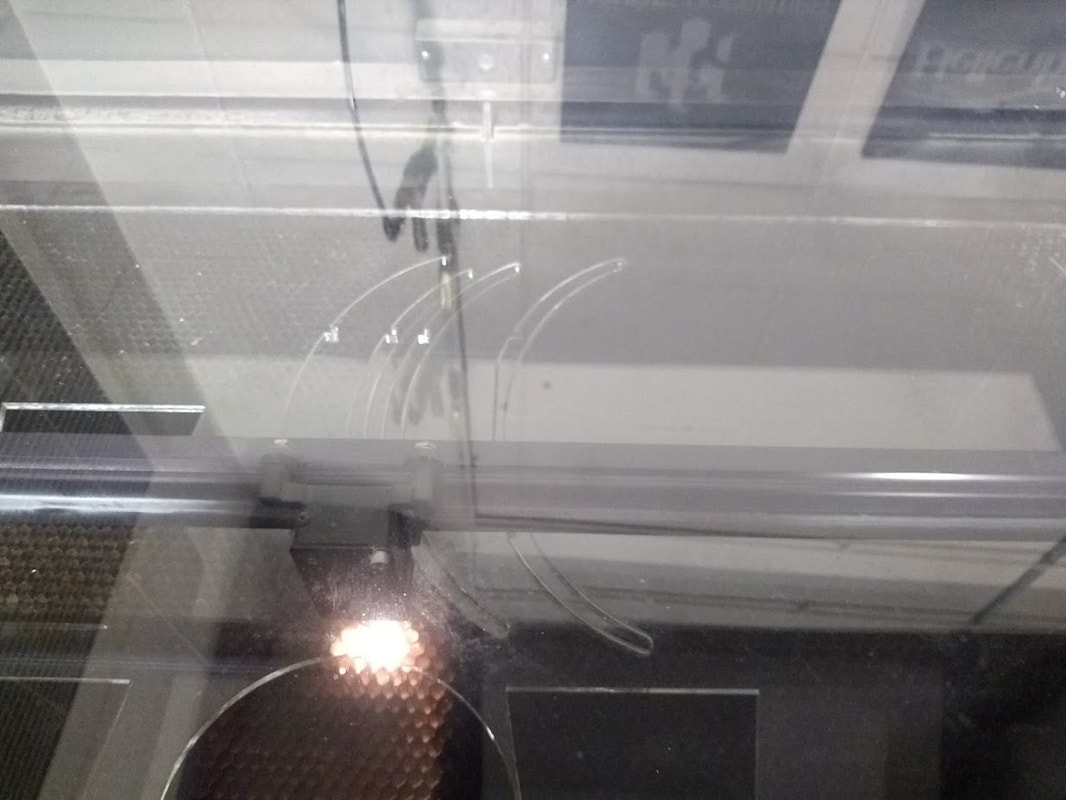
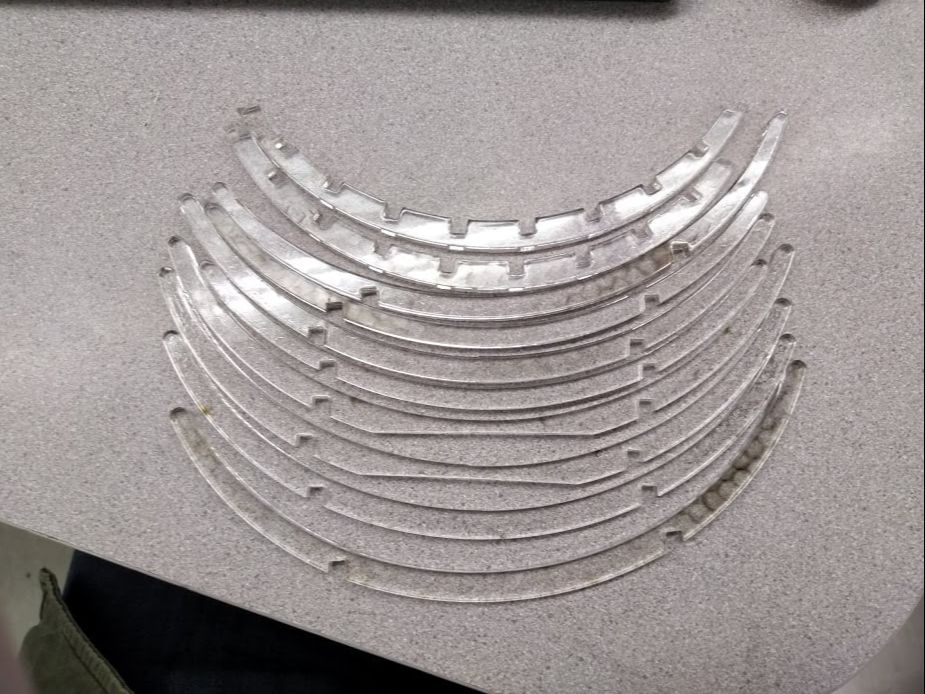
Once I cut it out, I faced a real dilemma. The laser did not cut through because the material wasn't pure maple, it was layers glued together, which added to the overall strength of the material. Because of this, Mr. Willauer and I decided to make it out of acrylic instead. This time it worked, but the pieces did not fit together correctly. Because of this Mr. Willauer ordered some acrylic glue and hopefully that will complete my project and I'll finish this rotation.
|
|
Although I have yet to complete this project, I have learned many things in this rotation. One of them is that even though you might not succeed, that doesn't mean you can't keep trying to finish what you started. I though my fruit bowl was a complete failure, but Mr. Willauer said, " Don't worry, this isn't a failure, we can fix this." Another thing is that your creativity is only limited by your imagination. There's so many different things that you can build, and I'm glad to be given the opportunity to be able to express my creativity.
